6 Simple Tips for Storing Potting Soil Over Winter
Knowing how to store potting soil over winter will help you prepare for the nest planting season. As the winter season approaches, the gardening season also ends.
Unless you have drought-resistant perennial crops to take care of during this period, the gardening season is pretty wrapped up for the year. It is time to prepare for the next planting season.
Apart from preparing your garden for winter, one of the things to take into consideration is what to do with your potting soil.
Most people still find that we have abundant potting soil during this period. Potting soil contains carefully selected nutrients and additives your plants need to grow healthy. It would be a pity to let it go to waste. Potting soil is loose to allow for excellent drainage.
Read on to learn how to store potting soil over winter so that you can be ready to plant new seedlings in the next season.

How to Store Potting Soil Over Winter – 6 Easy Steps
#1. Collect the Bags Containing the Potting Soil
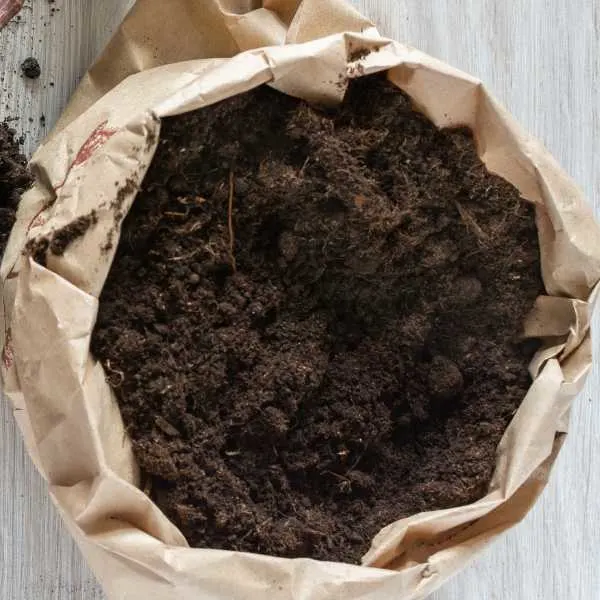
Gather all the bags (opened or unopened) in one place. Inspect the open bags to remove debris – such as leaves and other unwanted content.
#2. Ensure the Soil is Dry
If you store the bags with moisture trapped inside, you risk creating an environment where mildew thrives. This can cause problems during the planting season.
Air-dry your soil for several days before putting it into the storage container. While it is drying out, use a pitchfork to turn and stir it to ensure it dries out evenly.
#3. Combine the Potting Soil into Fewer Bags
Take the soil in opened bags and combine them into fewer bags. This will make it easier to handle the content. You will also optimize the storage space required for these bags.
#4. Use Duct Tape to Seal Bags
If you are using a plastic bag, you can seal it and make it air-tight by wrapping the opening using duct tape.
#5. Find a Large Container to Place All the Potting Soil
To keep everything in one place, visit your local store and find a container (preferably one with an air-tight lid) large enough to accommodate all the potting soil you have. Load the potting soil into this container and close the lid. Ensure that no moisture can get into the soil.
Plastic containers are best because they are inexpensive and the lid secures perfectly. They are also waterproof and come in different sizes.
Once you have found the right container, prepare it well before placing the potting mix inside. Use a diluted bleach solution to get rid of any pathogens that may be present inside the container. Rinse well, let it dry, and place your potting mix inside before closing securely.
#6. Store in a Dry Place
Store the container in a cool, dry place – preferably a shed. Ensure that it will not come into contact with any moisture during the storage duration.
Possible Problems Associated with Storing Potting Soil Over Winter

If not well stored, there are several potential problems you can have with your potting soil;
Insect Infestation
The organic matter in the potting soil is adequate food for various insects over the winter season. The warm environment inside is also conducive for these insects to lay eggs and hatch them.
This is not a scenario you expect to find when you open your container during springtime. This is why you should inspect the soil for bugs before mixing it into the container.
Mold and Mildew
Mold and mildew inside the potting soil point to the presence of moisture during preservation. Once you use this soil to plant your crops, the mildew will spread to the plants.
Pathogens Growing in the Mix
Potting soil creates the perfect environment for pathogens to grow and multiply over the winter period. Pathogens thrive in a warm environment and with minimal disturbance.
How to Rejuvenate Used Potting Soil
You can rejuvenate your potting soil using different ways;
Mixing New Material with Organic Fertilizer
Organic fertilizer contains microbes that aid in the breakdown of plant and organic matter into usable nutrients. By mixing fresh potting soil with organic fertilizer, you will add these microbes to the soil and this enriches the batch you already have on your farm.
Start composting during the winter season to have a good batch of organic compost when springtime comes. Mix this compost with the fresh batch of potting soil in a 1:1 ratio.
Add Fresh Potting Soil on Top of the Old Batch
Keep the old potting soil at the bottom of the container and add a fresh batch of potting soil in the upper parts of the container. The plants will grow on the fresh batch but the roots can still access nutrients present in the old potting batch inside the container.
Heat-Treating Potting Soil
You cannot be sure the potting soil you have does not contain pathogens and disease-causing bugs. These pathogens enjoy the warm atmosphere inside the potting mix.
However, exposure to extreme heat or extreme cold kills them. That is why you should heat-treat your potting soil to be sure that you will not transfer diseases to the new crops.
Place the soil in black bags and leave the bags out in the full sun. The temperature inside rises to astronomical levels. The black bag retains heat, making the inside resemble an oven. No pathogens can survive this treatment.
After the treatment, your soil is ready to be used in your garden for another season of vegetables and plants.
Final Thoughts on How to Store Potting Soil Over Winter
It is important to preserve your potting mix correctly because you will need it in the next planting season. The trick is to keep the soil dry during the winter period. You should also ensure that there are no disease-carrying bugs or pathogens inside the soil before taking it into storage.
Pathogens will grow and thrive inside the potting mix because the temperature inside the container is higher than the cold, freezing temperature outside.
Do not let the potting mix come into contact with any moisture. Plastic containers with air-tight lids work best in containing this moisture. When you store your potting soil well over the winter season, you will have a starter pack during springtime.

